Introduction to Time-Lapse Photography: From Setup to Post-Processing


Time-lapse photography is a mesmerizing art form that captures the slow dance of time by stitching together images taken at regular intervals. From blooming flowers to bustling cityscapes, time-lapse reveals the beauty of change. This introduction will walk you through the steps to create your very own time-lapse masterpiece.

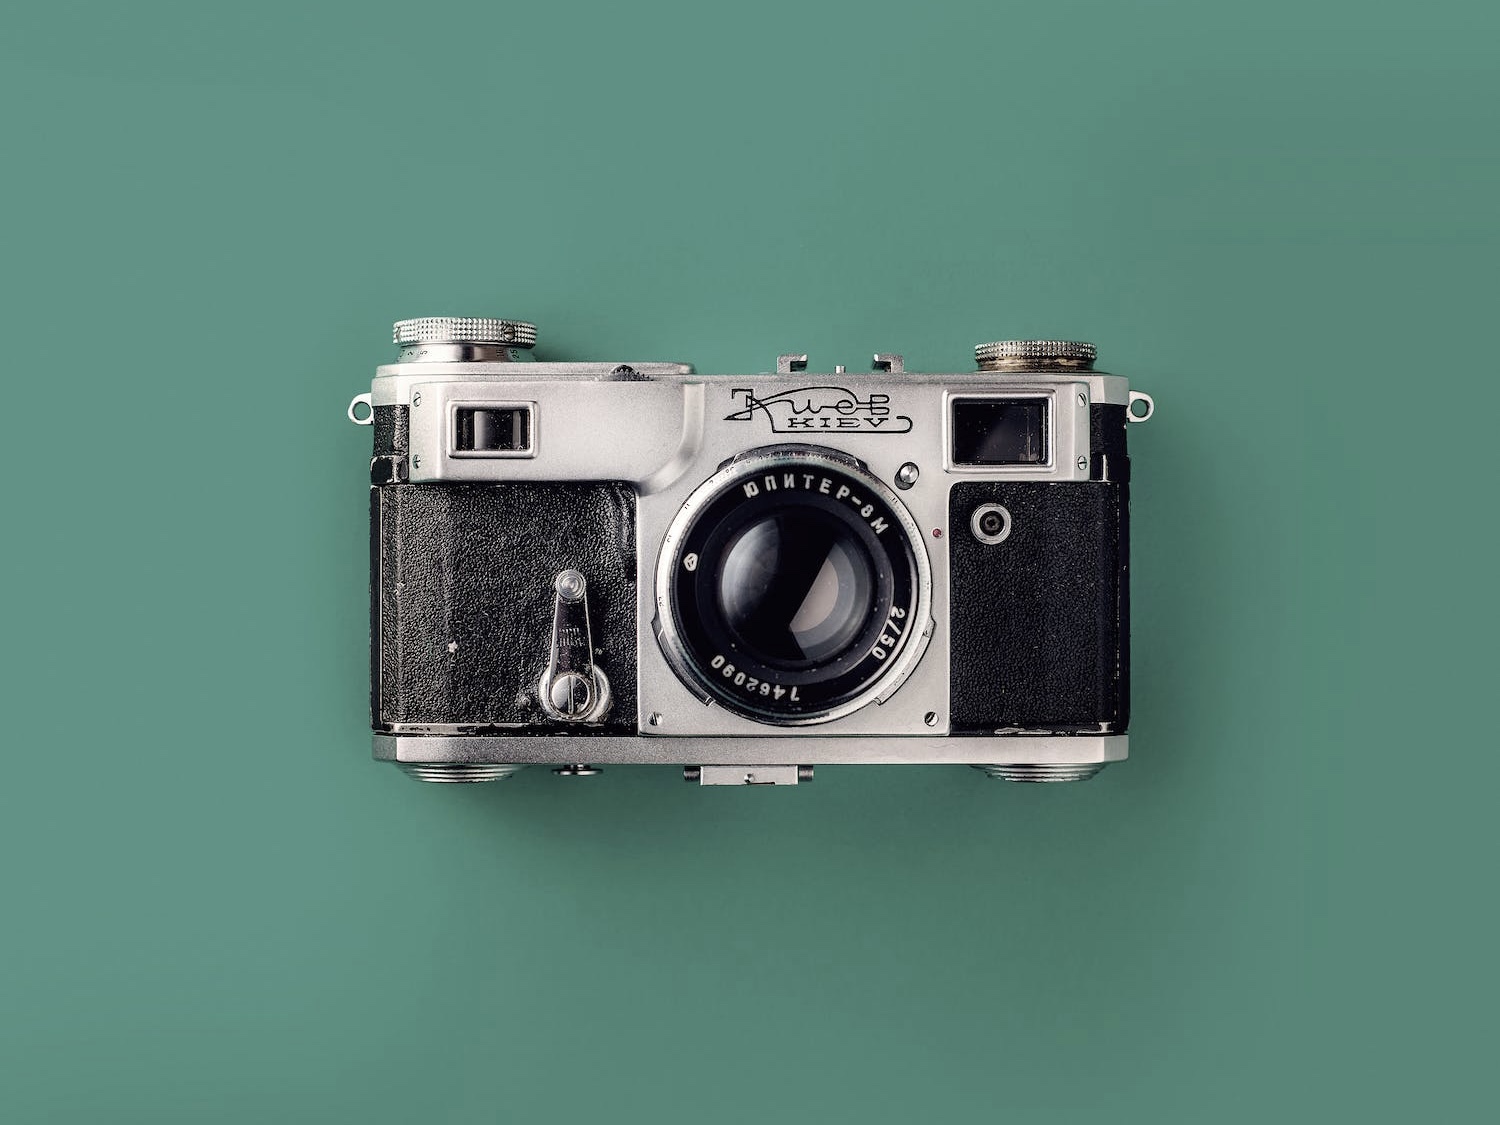
1. Equipment Essentials:

  • Camera with Manual Mode: This ensures consistent exposures across your shots.
  • Sturdy Tripod: Stability is paramount. Any movement can ruin the fluidity of your time-lapse.
  • Intervalometer: Some cameras have this built-in. It’s a device that automates picture-taking at specified intervals.
  • Neutral Density (ND) Filters: These reduce light intake, allowing for longer exposures in bright conditions.

2. Setting Up:

  • Choose Your Subject: What do you want to capture? The setting sun, moving clouds, or the hustle of a town square?
  • Frame and Compose: As with any photo, composition is key. Rule of thirds, leading lines, and natural frames can enhance your visuals.
  • Manual Settings: Use manual mode to set your ISO, aperture, and shutter speed. A good rule of thumb for smooth transitions is the 180-degree shutter rule: your shutter speed should be double your frame rate (e.g., 1/50s for 24fps).
  • Determine Interval: Depending on your subject, decide how often you want to capture a frame. For slow-moving clouds, one frame every 10 seconds might work; for a busy street, one frame every 2 seconds might be better.

3. Shooting:

  • Be Patient: Time-lapse photography is a waiting game. Make sure your battery is fully charged, and if possible, bring a spare.
  • Protect Your Gear: If you’re outdoors, be prepared for changing weather conditions.

4. Post-Processing:

  • Import and Check: Import your images into software like Lightroom or Adobe After Effects. Scan through to check for any inconsistencies in exposure.
  • Batch Edit: Apply edits like color correction, sharpness, or clarity. Ensure you sync these settings across all images for consistency.
  • Stabilize: If there are minor shakes, some software options offer stabilization tools.
  • Compile: Software like Adobe Premiere Pro or Final Cut Pro can be used to string together your images into a video. Set your desired frame rate, usually 24 or 30fps.

5. Export and Share:

  • Choose Your Format: .MP4 or .MOV are common video formats with broad compatibility.
  • Share with the World: Upload to platforms like YouTube or Vimeo, and share your view of time’s dance.

Time-lapse photography is a blend of technical know-how and artistic vision. While there’s a learning curve, the results are undeniably rewarding. The world is in constant motion; with time-lapse, you have the unique opportunity to showcase this movement in beautiful, condensed moments. Dive in and let the passage of time become your canvas!

Wildlife Photography: Equipment, Tips, and Ethical Practices


Wildlife photography is a thrilling blend of patience, technique, and a deep respect for nature. Venturing into the wild to capture stunning shots of animals in their natural habitat is an adventure in itself. This guide delves into the essentials for budding wildlife photographers.

Equipment Essentials:

  1. Telephoto Lens: This allows you to photograph animals from a distance, ensuring you don’t disturb them and stay safe. A lens with a focal length of 400mm or more is recommended.
  2. Tripod: A sturdy tripod helps eliminate camera shake, especially when using heavy telephoto lenses.
  3. Camera with Fast Autofocus: Animals move quickly! A camera with a fast autofocus system helps you capture sharp images even when the subject is in motion.
  4. Bean Bag: Perfect for stabilizing your camera on car windows or uneven surfaces.
  5. Weatherproof Equipment: Mother Nature can be unpredictable. Weatherproof bags and camera covers can be invaluable.

Tips for The Perfect Shot:

  1. Know Your Subject: Research about the animals you hope to photograph. Understanding their behavior will help you anticipate their movements.
  2. Golden Hours are Golden: Early mornings and late afternoons usually offer the best light and active wildlife.
  3. Eye Level Magic: Photographing animals at their eye level brings a personal and intimate feel to the image.
  4. Background Matters: A clean, non-distracting background can make your subject pop. Look for natural settings without human-made structures or disturbances.
  5. Practice Patience: Wildlife photography often requires waiting for hours for the perfect shot. Embrace the process.

Ethical Practices:

  1. Avoid Disturbance: Respect the animals and their habitats. If an animal appears stressed or changes its behavior due to your presence, it’s time to back off.
  2. Don’t Feed the Wildlife: Feeding can make animals dependent on humans and can alter their natural behavior.
  3. Stay on Designated Paths: Trampling on undesignated areas can damage fragile habitats.
  4. No Baiting: Using live or fake bait to lure animals is unethical and can put both you and the animals at risk.
  5. Share Responsibility: If you see others acting irresponsibly, gently remind them of the ethical practices. We’re all stewards of nature.

Wildlife photography is not just about capturing beautiful shots; it’s about narrating the stories of the wild. It’s a testament to the beauty of our planet and the creatures that inhabit it. As you venture out with your camera, always prioritize the well-being of the animals and the environment over the shot. After all, true appreciation of nature means ensuring its safety and preservation.

Travel Photography Tips: Capturing Memories Like a Pro


Travel photography isn’t just about clicking pictures; it’s about capturing memories, telling stories, and reliving adventures. Whether you’re a seasoned globetrotter or an occasional vacationer, these tips will help you bring back more than just souvenirs from your journeys.

1. Know Your Equipment:

Before setting off, familiarize yourself with your camera’s settings. This doesn’t mean you need the most expensive gear. A smartphone with a good camera, when used effectively, can produce incredible results.

2. Plan Ahead:

Research your destination. Familiarizing yourself with iconic spots, local customs, and the golden hours can make a world of difference in your shots. Apps like PhotoPills can help you predict sun and moon positions, ensuring you’re at the right place at the right time.

3. Play with Perspectives:

Don’t just stick to eye-level shots. Crouch down, climb up, or even lay on the ground. Different angles can provide fresh perspectives on otherwise familiar scenes.

4. Respect Local Cultures:

Always ask for permission before photographing people, especially in cultures where it’s considered disrespectful. This not only is courteous but can also lead to more genuine portraits and deeper connections.

5. Utilize the Golden Hour:

The hour after sunrise and before sunset provides soft, golden-toned light, which is ideal for any kind of photography, especially landscapes.

6. Capture the Details:

While it’s essential to get shots of iconic landmarks, don’t forget the smaller details. Textures, colors, local crafts, or even a forgotten alleyway can tell a story as powerful as that of a famous monument.

7. Use the Rule of Thirds:

Imagine your image is divided into nine equal segments by two vertical and two horizontal lines. Positioning the important elements of your scene along these lines or at their intersections can make your photo more balanced.

8. Stay Patient:

Good things come to those who wait. Whether it’s for the perfect light, the crowd to disperse, or an animal to make an appearance, patience often leads to the best shots.

9. Backup Regularly:

Imagine losing all your photos to a tech glitch. To avoid such tragedies, invest in multiple memory cards and consider cloud storage solutions or portable hard drives for backing up your shots.

10. Edit, But Don’t Overdo It:

Post-processing can enhance your photos, but remember to retain the authenticity of the scene. Apps like Lightroom and Snapseed can be invaluable in this process.

Travel photography is as much about the journey as it is about the destination. While these tips can guide you, remember to soak in the experiences, interact with locals, and enjoy the moments. After all, the memories you make will always be the most treasured keepsakes. Safe travels and happy shooting!

Portrait Lighting Techniques: Using Natural and Artificial Light


Mastering lighting is pivotal to achieving outstanding portrait photography. Lighting sets the mood, shapes the subject, and brings life to every shot. This guide explores both natural and artificial lighting techniques to elevate your portrait game.

Natural Light Techniques:

  1. Golden Hour Glow: Shooting during the ‘golden hour’—the hour after sunrise or before sunset—provides a soft, warm, and diffused light. It eliminates harsh shadows and gives a flattering hue to the skin.
  2. Overcast Advantage: Contrary to popular belief, a cloudy day can be your ally. The clouds act as a natural diffuser, spreading light evenly and reducing shadows and contrasts.
  3. Window Wonders: Positioning your subject near a window can produce beautiful side-lit portraits. Use sheer curtains to soften the light or let it pour in directly for a more dramatic effect.
  4. Shade and Diffusion: On bright days, have your subject stand in the shade to avoid harsh shadows. Alternatively, using a diffuser can soften direct sunlight, ensuring your subject is evenly lit.

Artificial Light Techniques:

  1. Classic Three-Point Lighting:
  • Key Light: The primary source of light, usually positioned at a 45-degree angle to the subject.
  • Fill Light: Positioned opposite the key light, it fills in the shadows, ensuring a more balanced look.
  • Backlight: Placed behind the subject, it separates them from the background, adding depth and dimension.
  1. Ring Lights: Perfect for close-up portraits, a ring light provides even illumination around the subject, eliminating shadows and giving a unique catch light in the eyes.
  2. Softboxes and Umbrellas: These are essential tools to diffuse light, producing a softer and more flattering effect. While softboxes direct light more precisely, umbrellas spread it wider.
  3. Colored Gels: Add a splash of color to your portraits by attaching colored gels to your artificial lights. This can set the mood, match a theme, or add a creative twist.
  4. Bouncing Light: Reflecting light off ceilings or walls can provide a broader, diffused light source. Reflectors can also be used outdoors, bouncing the natural light back onto your subject.

Blending Natural and Artificial Light:

Combining both light sources allows for greater creativity. Use a flash outdoors to fill in shadows or balance the ambient light. Indoors, mix window light with continuous LED panels or strobes to achieve the desired effect.

Lighting is an art in itself, with countless possibilities and combinations to explore. Whether harnessing the power of the sun or manipulating studio lights, understanding these techniques can transform your portrait photography. Experiment, adapt, and most importantly, let the light guide your vision.

Film Photography in the Digital Age: Is Film Making a Comeback?


In an era dominated by megapixels, instant sharing, and digital manipulation, a curious trend is emerging: the resurgence of film photography. But why, in the age of digital convenience, are photographers returning to this classic medium? Let’s delve into the comeback of film.

1. The Tangibility of Film

Unlike digital images that often get lost in the abyss of our devices, film is tangible. Photographers can physically hold negatives, making each shot feel more valuable and personal. There’s a certain satisfaction in thumbing through developed photos and cherishing those unique prints.

2. The Element of Surprise

With digital cameras, instant previews have become the norm. Film photography, however, reintroduces the element of suspense. The waiting period from shooting to developing often leads to delightful surprises, adding excitement to the photographic process.

3. A Different Approach to Composition

Shooting with film forces photographers to be more intentional about their compositions. Without the luxury of unlimited storage or the ability to instantly delete, each shot becomes a more thoughtful endeavor. This often results in more compelling and carefully considered images.

4. The Unique Aesthetic

Film has an unmistakable look—a certain grain, color saturation, and depth that’s hard to replicate digitally. Many digital filters try to mimic the “film look,” but there’s an authenticity to genuine film that remains unparalleled.

5. The Physical Process

The hands-on experience of loading film, manually focusing lenses, and even developing in a darkroom can be meditative. It reconnects photographers with the roots of the craft, offering a break from the screen-dominated workflow of digital photography.

6. A Nostalgic Journey

For many, film photography is a nostalgic trip down memory lane, a reminder of simpler times. It’s a way to connect with the history of photography and experience the methods of legendary photographers firsthand.

7. Film’s Educational Value

Starting with film can be a fantastic way for budding photographers to learn. It teaches patience, the importance of exposure, and an understanding of the foundational principles of photography without the distractions of modern digital features.

8. Environmental Concerns

One can’t discuss the resurgence of film without acknowledging the environmental concerns. Chemicals used in developing and the physical waste of disposable cameras are challenges to be reckoned with. It’s essential for film enthusiasts to practice sustainable methods and support labs that prioritize eco-friendly processes.

While digital photography offers unparalleled convenience and innovation, film photography holds its unique charm, aesthetic, and lessons. Its resurgence in the digital age isn’t about replacing newer technologies but celebrating the rich tapestry of photographic history. In the dance of shadows and light, there’s room for both film and pixels.

Virtual Reality (VR) in Photography: How VR is Changing the Game


From capturing moments in a frame to immersing viewers in entirely new worlds, photography’s evolution is nothing short of remarkable. The latest frontier? Virtual Reality (VR). Dive into how VR is revolutionizing the realm of photography.

1. Immersive Storytelling

Traditional photography tells a story through a single frame. With VR photography, viewers are transported to the scene, allowing them to experience the narrative from a 360-degree perspective. Whether it’s a bustling city street or a serene mountaintop, VR provides an all-encompassing view of the tale.

2. Virtual Photo Galleries

Imagine walking through a digital art gallery from the comfort of your home. VR photography offers precisely this experience, allowing artists to showcase their work in virtual spaces, opening up new avenues for exhibitions without the constraints of physical locations.

3. Enhanced Engagement

VR photos capture more than just an image—they capture an experience. Viewers can interact with these photos, exploring every angle and detail. This level of engagement is unparalleled in traditional photography.

4. Breaking Boundaries in Journalism

Photojournalism has always brought distant events closer to us. With VR, this proximity takes on a new dimension. Documentaries and news reports in VR format give viewers a firsthand experience of events, making the stories more relatable and impactful.

5. Education and Training

From historical recreations to virtual field trips, VR photography offers educators a powerful tool. Students can explore ancient ruins or dive deep into the ocean, all while staying in their classroom.

6. Real Estate and Architecture

Gone are the days of simple house listings with static images. Real estate agents now offer virtual home tours, allowing potential buyers to walk through properties without ever setting foot inside. Similarly, architects use VR photos to provide clients with a tangible sense of space and design.

7. Evolution of Camera Gear

With the rise of VR, we’re witnessing an evolution in camera technology. 360-degree cameras, which were once a novelty, are becoming mainstream. These cameras capture everything around them, providing the raw material for VR experiences.

8. Challenges and Ethical Considerations

While VR photography holds immense promise, it also poses challenges. How do photographers obtain consent in crowded public spaces where everyone is in the frame? The immersive nature of VR also means that photo manipulation can distort reality in profound ways, raising ethical concerns.

Virtual Reality is not just a fleeting trend—it’s a transformative force in photography. By bridging the gap between observer and scene, VR photography is redefining how we capture, share, and experience moments. The future is here, and it’s immersive.

The Future of Drone Tech: What’s on the Horizon?


Drones have soared from niche gadgets to mainstream tools in just a few years. Whether it’s aerial photography, package delivery, or agriculture, drones are reshaping numerous industries. As we hover at the cusp of a new era, let’s peer into the future of drone technology.

1. Enhanced Autonomy Through AI

Artificial Intelligence (AI) is rapidly seeping into the world of drones. AI-powered drones will be better at object detection, collision avoidance, and complex navigation. They’ll be able to make real-time decisions, adjusting flight paths based on environmental changes or unforeseen obstacles.

2. Swarming Drones

Drawing inspiration from nature, especially birds and insects, drone ‘swarms’ are on the rise. These are large groups of small drones that operate in coordination. Their potential applications range from synchronized light shows to agriculture and large-scale environmental monitoring.

3. Improved Battery Life and Range

One current limitation of drones is their flight time. As battery technologies advance, drones will stay airborne longer. We can also anticipate solar-powered drones, which will recharge during daylight, significantly extending their flight duration.

4. Noise Reduction Technologies

Drone noise can be a nuisance. Innovations are in progress to reduce drone noise, making them more community-friendly, especially in urban areas where drone deliveries might become commonplace.

5. Advanced Sensory Capabilities

Future drones will be equipped with enhanced sensors, giving them capabilities like thermal imaging, LIDAR, and advanced night vision. These will be crucial for tasks such as search and rescue missions, surveillance, and environmental monitoring.

6. Compact and Foldable Designs

Drones will continue to become more portable. With foldable arms and rotors, these gadgets will be easy to carry, making them perfect companions for travelers and outdoor enthusiasts.

7. Enhanced Safety Features

Safety remains paramount. The drones of the future will have advanced geofencing, ensuring they stay out of restricted zones. They’ll also feature parachute systems that deploy during malfunctions, ensuring a safe descent.

8. Integration with Augmented Reality (AR) and Virtual Reality (VR)

Imagine flying a drone and experiencing the flight as if you were on board. Through VR, users will enjoy immersive flight experiences. On the other hand, AR will overlay critical information onto controllers’ screens, aiding in navigation and mission planning.

9. Versatile Applications in Various Industries

From healthcare, where drones might deliver emergency medical supplies, to agriculture, where they’ll monitor crop health and growth, the applications will diversify. We’ll also see their role expand in journalism, entertainment, and even space exploration.

The drone revolution is just beginning. As technology evolves, the boundaries of what drones can achieve will expand. One thing is clear: the sky is not the limit. The horizon beckons, and the future of drone tech promises to be nothing short of spectacular.

The Power of Mobile Photography: Tips for Capturing Stunning Photos with Your Phone


Gone are the days when you needed a high-end DSLR to capture stunning photographs. With the rapid evolution of smartphone technology, mobile photography has surged in popularity. The best camera, as they say, is the one you have with you. Let’s explore how to make the most of your phone’s camera.

1. Understand Your Phone’s Capabilities

Before diving into photography techniques, familiarize yourself with your phone’s camera settings. Some phones offer manual mode, allowing you to adjust shutter speed, ISO, and focus. Knowing these settings can significantly enhance your creative control.

2. Composition is Key

Follow the rule of thirds by imagining your frame divided into nine equal segments by two vertical and two horizontal lines. Positioning key elements along these lines or their intersections can make your image more balanced.

3. Harness Natural Light

Natural light is your best friend. When indoors, position your subject near windows or open spaces. For outdoor photography, golden hours (shortly after sunrise and before sunset) offer soft, warm lighting that can add depth to your photos.

4. Steady Does It

While phones are more forgiving than traditional cameras, it’s still crucial to keep them steady. If you don’t have a tripod, improvise. Rest your phone against solid objects or use your body to brace it.

5. Experiment with Different Perspectives

The beauty of mobile photography lies in its spontaneity. Get low to the ground, or shoot from a high vantage point. Changing your perspective can transform an ordinary scene into a captivating photo.

6. Use Editing Apps

Post-processing isn’t exclusive to professional cameras. Apps like Snapseed, VSCO, and even Instagram offer a plethora of editing tools to enhance your images. Play with contrasts, shadows, and saturation to make your photos pop.

7. Opt for Portrait Mode

Many modern smartphones come with a portrait mode, which mimics the shallow depth of field of DSLRs. It’s perfect for making your subject stand out against a beautifully blurred background.

8. Clean Your Lens

A simple yet often overlooked tip. Our phones are constantly handled, leading to smudges on the camera lens. A quick wipe with a soft cloth can significantly improve image clarity.

9. Avoid Digital Zoom

Digital zoom essentially crops into your image, reducing its quality. Instead of zooming, try to get closer to your subject or crop the photo during post-processing.

10. Join a Mobile Photography Community

Platforms like Instagram have massive mobile photography communities. Engage, share, and learn from fellow mobile photographers. Feedback and inspiration are invaluable in your photographic journey.

Mobile photography has democratized the art of capturing moments. With a device that fits in your pocket, you can create images that resonate, tell stories, and inspire. Embrace the power of mobile photography, and watch the world around you transform into a canvas of endless possibilities.

Post-Processing Essentials: Must-know Lightroom and Photoshop Techniques


The magic of photography doesn’t end once you press the shutter button. Post-processing, the act of enhancing or adjusting your images in software, is where the image truly comes to life. Adobe’s Lightroom and Photoshop are two giants in this realm. Let’s delve into essential techniques every photographer should know.

Lightroom Essentials

  1. RAW Processing: Always shoot in RAW format. This gives you a more extensive range of adjustments in post. Lightroom excels in RAW image processing, allowing you to extract maximum detail from shadows and highlights.
  2. Tone Curve Adjustment: The tone curve represents the tonal range in your photo. By manipulating it, you can adjust contrast, brightness, and the tone of individual color channels.
  3. HSL/Color Panel: The Hue, Saturation, and Luminance (HSL) panel lets you adjust the colors in your image. You can change the hue of specific colors, enhance their saturation, or adjust their brightness.
  4. Spot Healing: Perfect for removing blemishes or unwanted elements. Just select the spot healing brush and click on the area you want to ‘heal.’
  5. Presets: Over time, you can create or download presets – predefined adjustments that can be applied with a single click. They’re great for maintaining a consistent style.

Photoshop Techniques

  1. Layer Masks: Photoshop’s true power lies in layers. Layer masks allow you to apply effects or adjustments to specific parts of an image without affecting the entire photo.
  2. Frequency Separation: A technique mainly used in portrait retouching, this separates the color and texture of an image, allowing for detailed skin retouching without losing skin texture.
  3. Blending Modes: Change how layers interact with each other. For instance, the ‘Multiply’ mode can darken an image, while ‘Screen’ can lighten it.
  4. Clone Stamp & Healing Brush: These tools let you duplicate or ‘heal’ parts of your image. They’re perfect for removing unwanted elements or imperfections.
  5. Pen Tool: An essential tool for making precise selections, especially when dealing with objects with hard edges.

Integration: Best of Both Worlds

Remember, Lightroom and Photoshop are integrated, allowing you to jump between them seamlessly. You can begin your edits in Lightroom, then transfer to Photoshop for more detailed work, and finally return to Lightroom for final touches.

Post-processing is an art in itself. It provides a platform to refine and perfect your vision, making your images pop. By mastering these fundamental Lightroom and Photoshop techniques, you lay the foundation for countless creative possibilities. Embrace the digital darkroom and let your creativity soar!

Camera Care: Protecting Your Investment from Weather and Wear


Cameras are an invaluable tool for capturing memories, telling stories, and expressing artistic visions. However, like all electronics, they are susceptible to damage from the elements and everyday wear. Here’s a comprehensive guide on ensuring your camera’s longevity.

Storage and Transport: Keeping it Safe

  1. Camera Bag: Invest in a padded camera bag that offers compartments for your camera, lenses, and other accessories. The padding acts as a shock absorber, protecting your gear from bumps and drops.
  2. Silica Gel Packs: Store these in your camera bag. They absorb moisture, preventing fungal growth on your lenses.
  3. Lens Caps & Camera Body Caps: Always place caps on your lenses and camera body when they’re not in use to protect against dust and scratches.

Weatherproofing: Shielding from the Elements

  1. Weather-Sealed Gear: If you frequently shoot outdoors, consider investing in weather-sealed cameras and lenses. They offer added protection against dust, moisture, and minor splashes.
  2. Rain Covers: These are essential for shooting in unpredictable or wet conditions. They’re lightweight, portable, and ensure your gear remains dry.
  3. Avoid Extreme Temperatures: Prolonged exposure to extreme cold or heat can damage your camera. If you’re in cold conditions, allow your camera to acclimate to room temperature slowly to prevent condensation.

Maintenance: Regular Checks and Cleans

  1. Lens Cleaning: Use a soft lens brush or a rocket blower to gently remove dust. For smudges or fingerprints, a microfiber cloth and lens cleaning solution will do the trick.
  2. Sensor Cleaning: Dust on the sensor can show up in your photos. While many cameras have built-in sensor cleaning functions, for stubborn dust, consider a sensor cleaning kit or professional cleaning.
  3. Firmware Updates: Camera manufacturers often release updates that can improve performance or fix bugs. Regularly check for and install these updates.

Avoiding Common Hazards: Prevention is Better than Cure

  1. Beach Warning: Sand can be disastrous for cameras. Always use a protective bag and avoid changing lenses on the beach.
  2. Strap It: Always use a neck or wrist strap to prevent accidental drops.
  3. Food & Drink: Keep your camera away from food and drink to avoid spill-related accidents.

Insurance: For Peace of Mind

Accidents happen. If your camera is a significant investment, consider insuring it. Many companies offer specialized photography gear insurance that covers theft, accidental damage, and even some forms of wear.

A camera is more than just a piece of technology; it’s an extension of your creative vision. By taking the time to care for and protect it, you’re ensuring that it continues to help you capture the world as you see it for years to come.

Design a site like this with WordPress.com
Get started