The Rise of Vlogging: Best Gear for Aspiring YouTubers


Vlogging, or video blogging, has exploded in popularity over the past decade. Platforms like YouTube have given a voice to millions, turning everyday individuals into internet celebrities. If you’re looking to enter the vlogging world, your gear can make or break the quality of your content. Let’s dive into the essential gear for aspiring YouTubers.

Cameras: The Heart of Your Setup

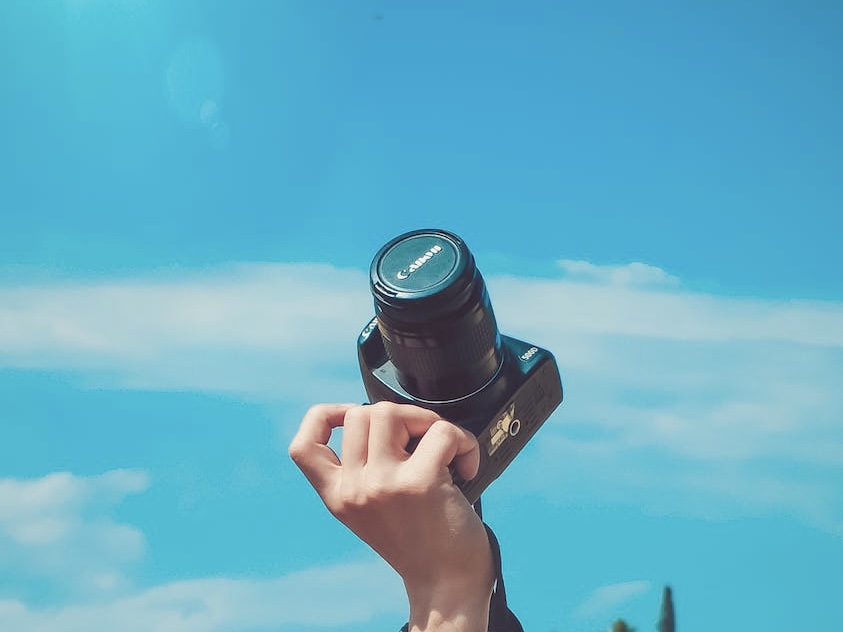
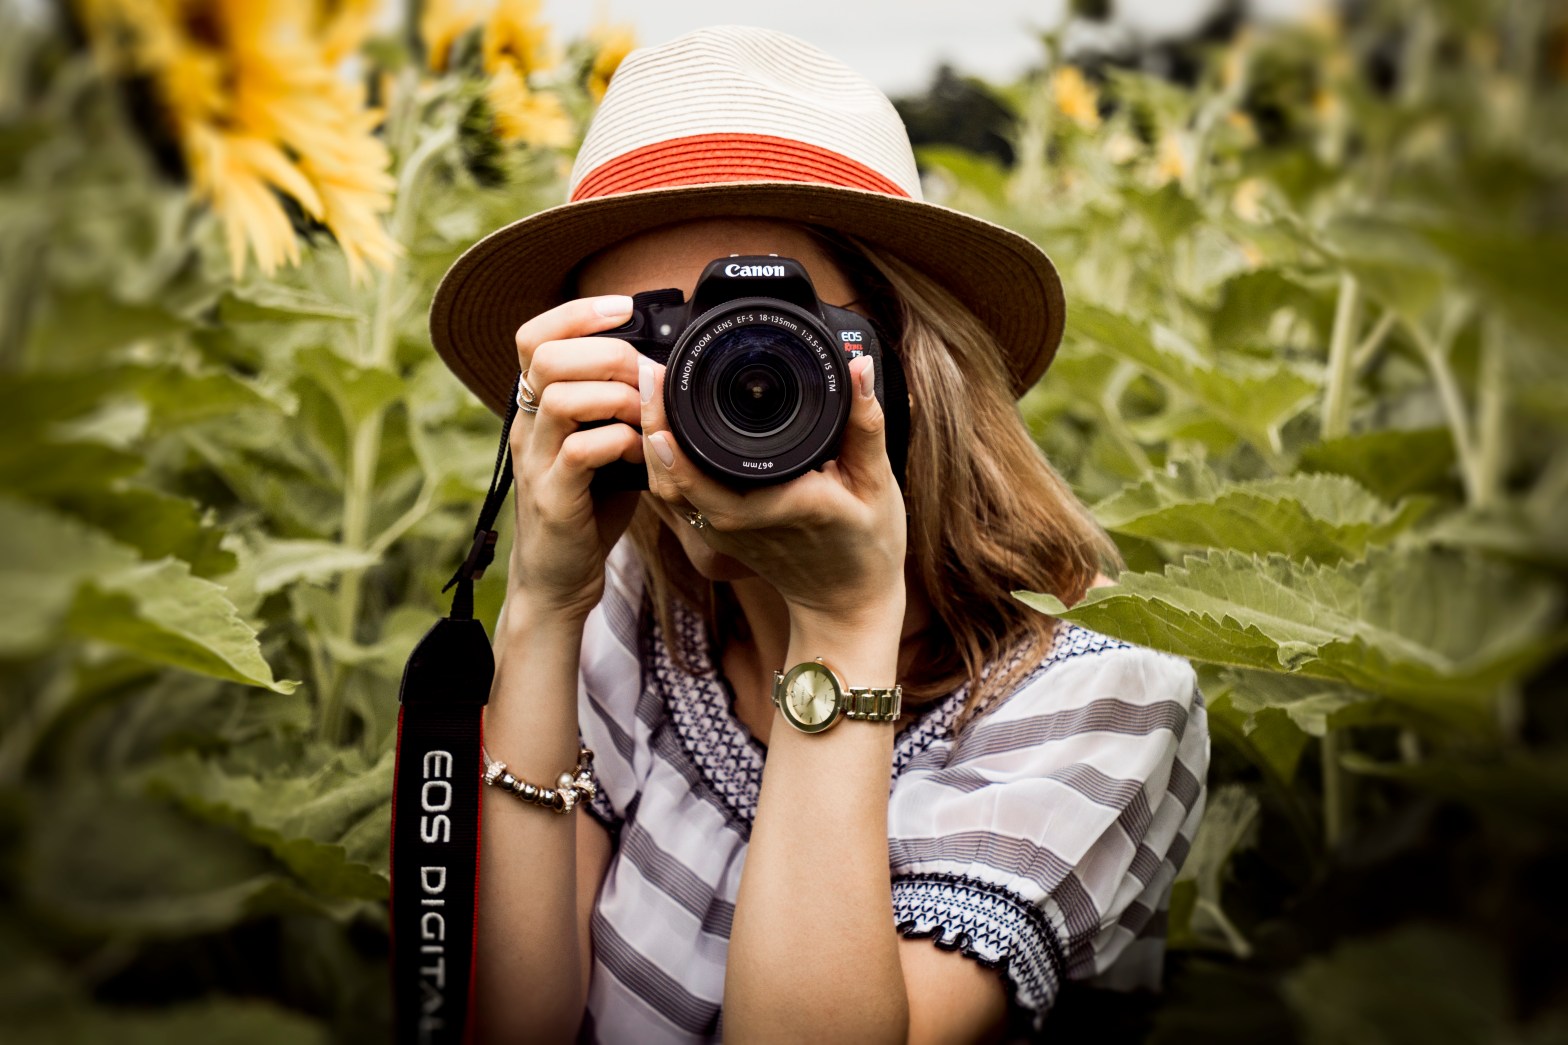
  1. Beginner: Canon G7X Mark III – Compact and user-friendly, this camera offers excellent video quality and a flip-up screen, perfect for self-shooting.
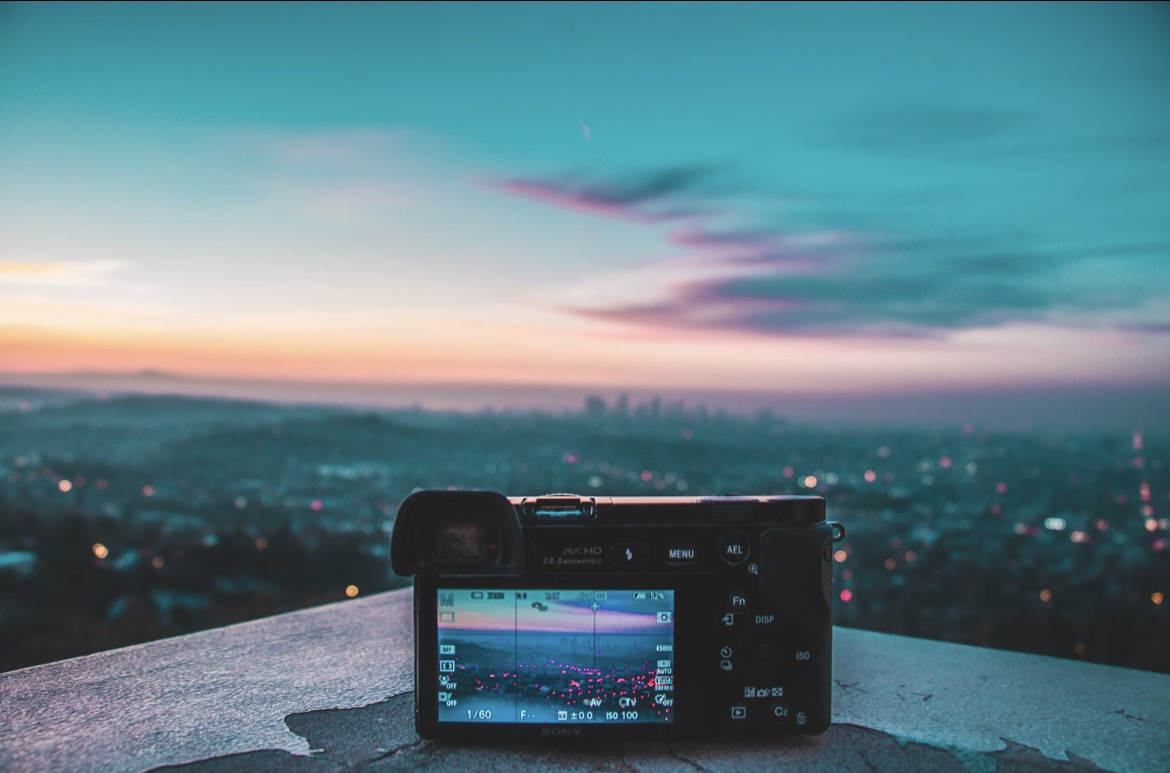
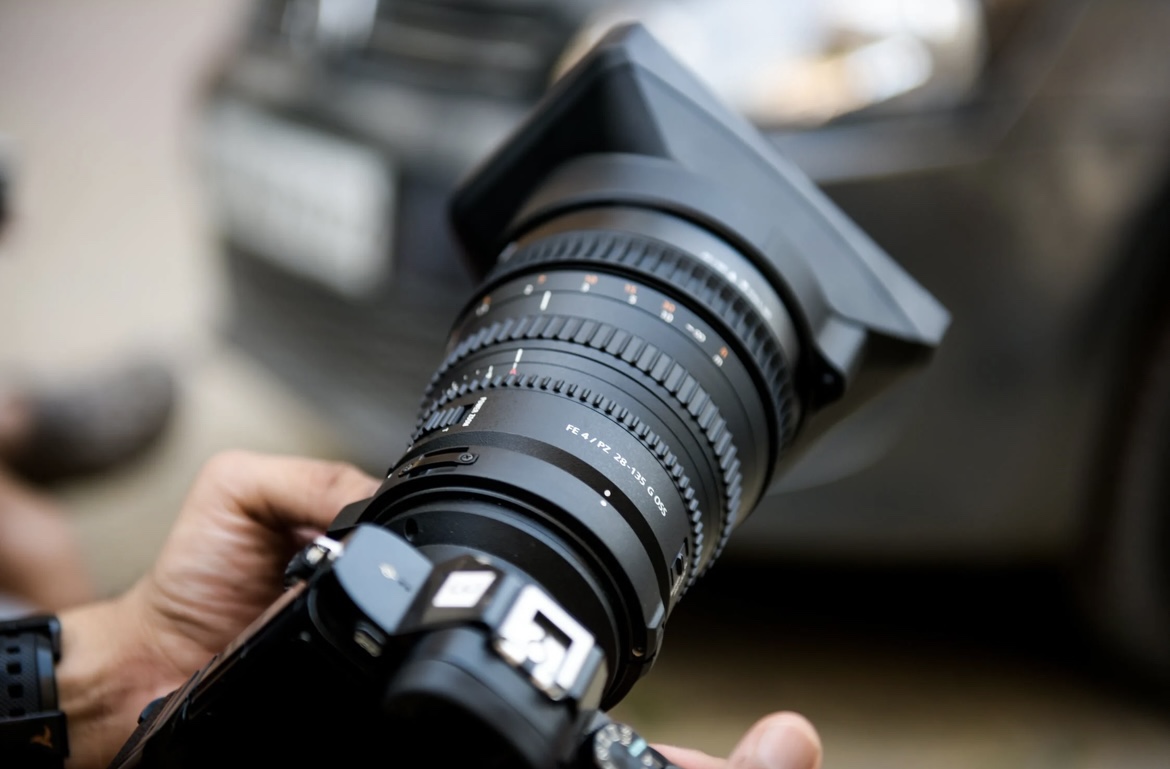
  2. Intermediate: Sony A6400 – This mirrorless camera boasts 4K video, stellar autofocus, and a front-facing screen.
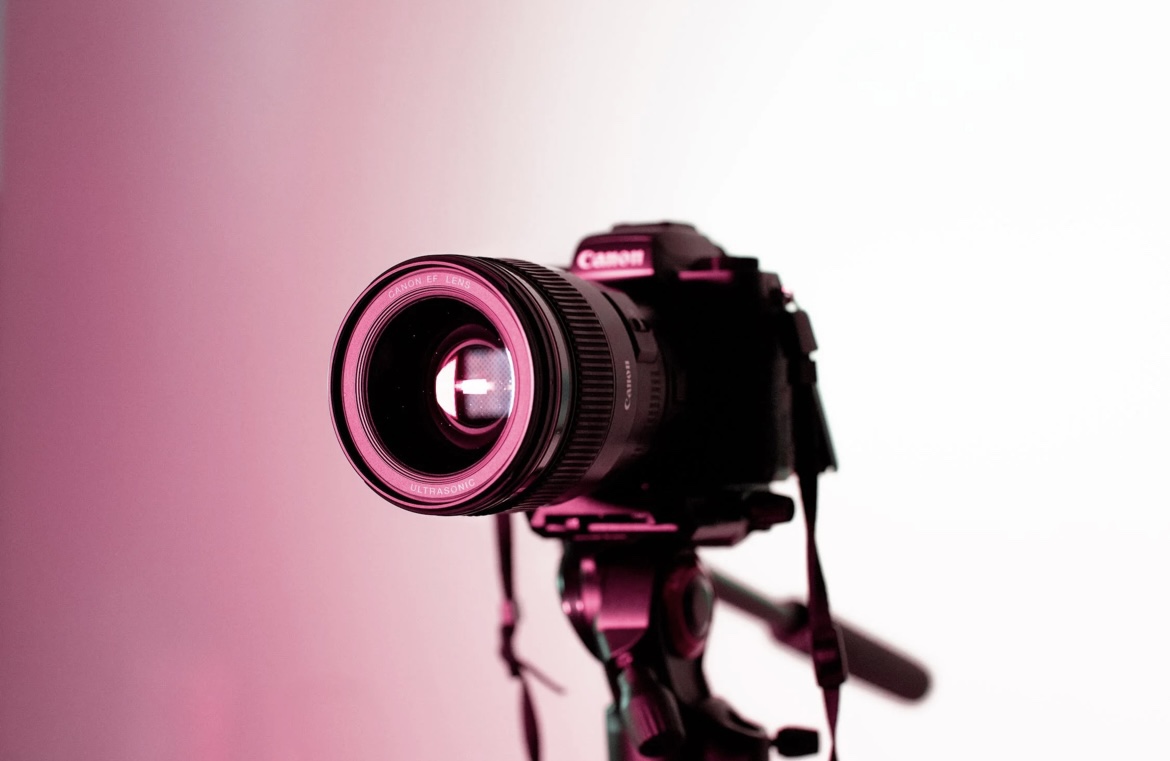
  3. Pro: Canon EOS R5 – A full-frame mirrorless marvel with 8K video capabilities, perfect for those seeking top-tier video quality.

Sound: Making Yourself Heard

  1. Lavalier Mic (Lapel Mic): The Rode SmartLav+ is great for sit-down interviews or walking and talking shots.
  2. Shotgun Mic: The Rode VideoMic Pro+ mounts on your camera and captures high-quality audio directly in front of it.
  3. Portable Recorder: Devices like the Zoom H5 are versatile, allowing external mics and capturing crystal-clear sound.

Stabilization: Keeping It Steady

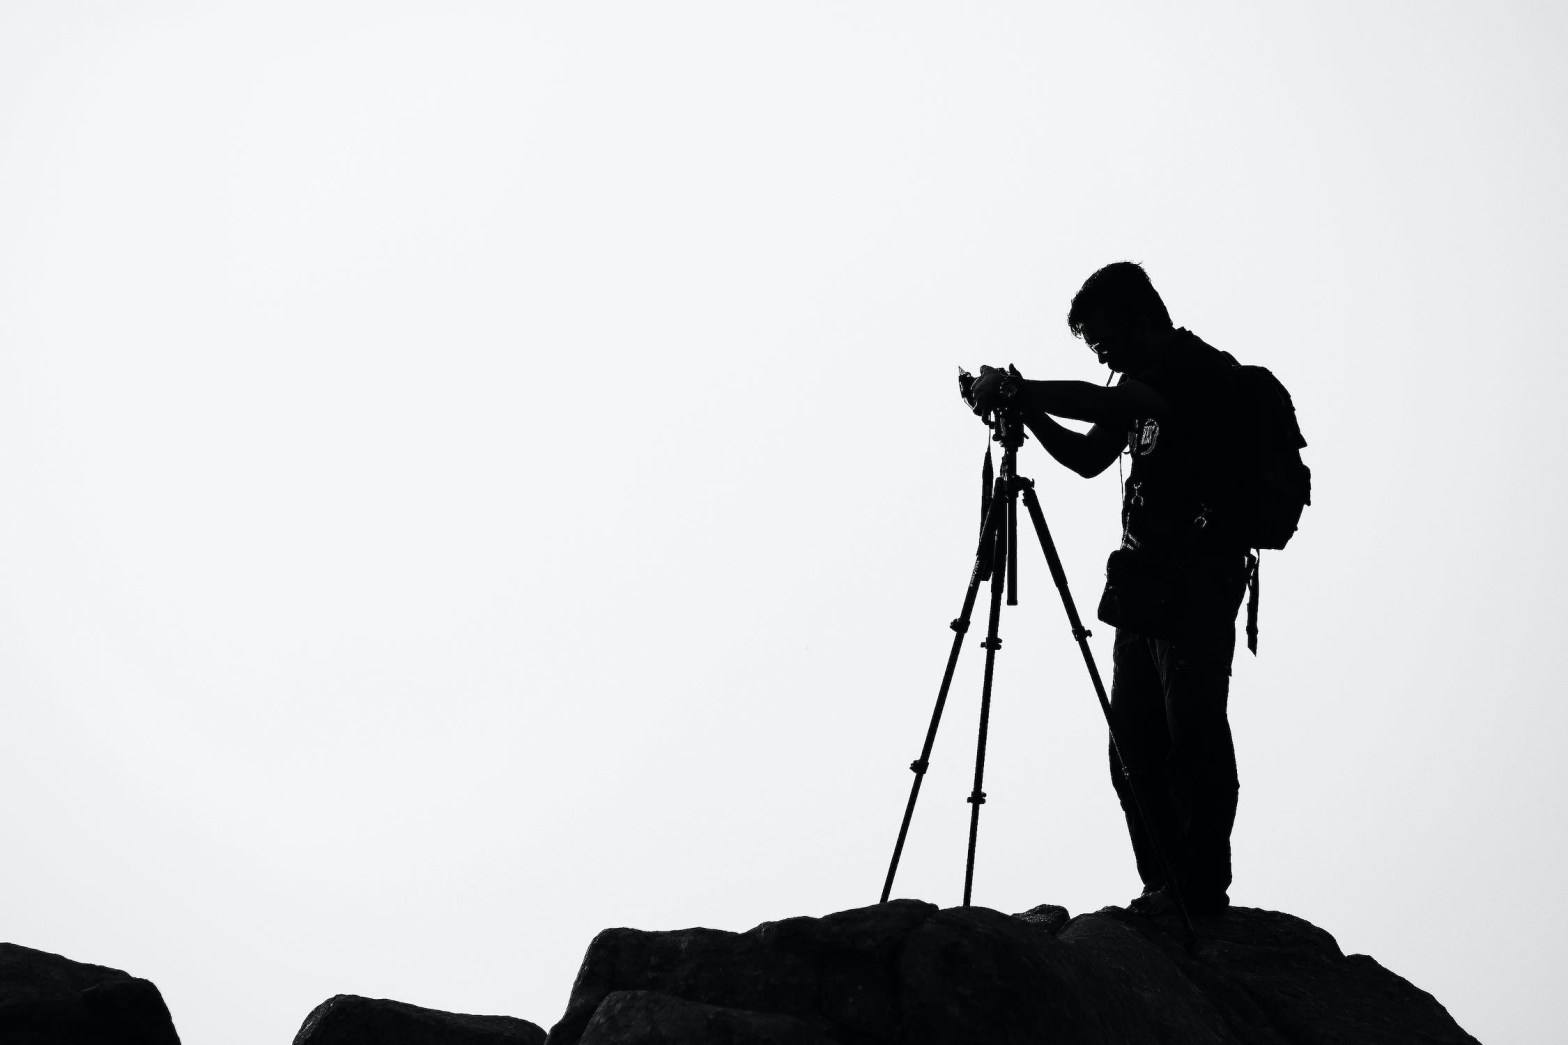
  1. Tripods: The Joby GorillaPod is a favorite for vloggers due to its flexible legs and portability.
  2. Gimbals: The DJI Ronin-S stabilizes your shots, especially useful for walking or moving scenes.

Lighting: Set the Mood

  1. Ring Lights: Ideal for beauty vloggers or those filming indoors, the Neewer Ring Light offers even, flattering light.
  2. Softboxes: For a more professional setup at home, softboxes can provide diffused light that softens shadows.
  3. Portable LEDs: Devices like the Aputure AL-M9 are perfect for on-the-go lighting adjustments.

Editing Software: The Final Touch

  1. Beginner: iMovie or Windows Movie Maker are user-friendly and often pre-installed on devices.
  2. Intermediate to Pro: Adobe Premiere Pro or Final Cut Pro X offer a wide array of tools and plugins for sophisticated editing.

Extras: Enhance Your Vlog

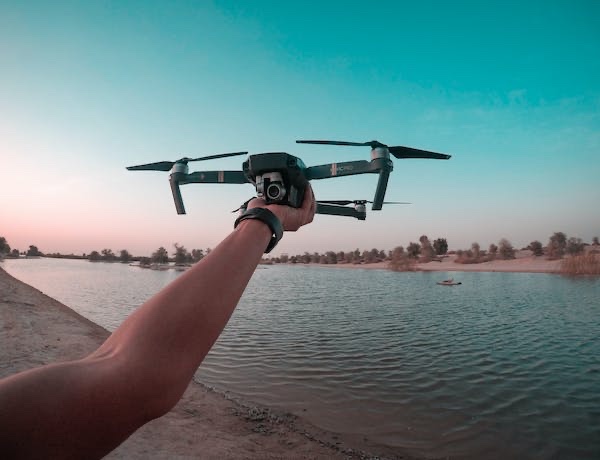
  1. Drone Footage: Devices like the DJI Mavic Air 2 can add cinematic aerial shots to your vlogs.
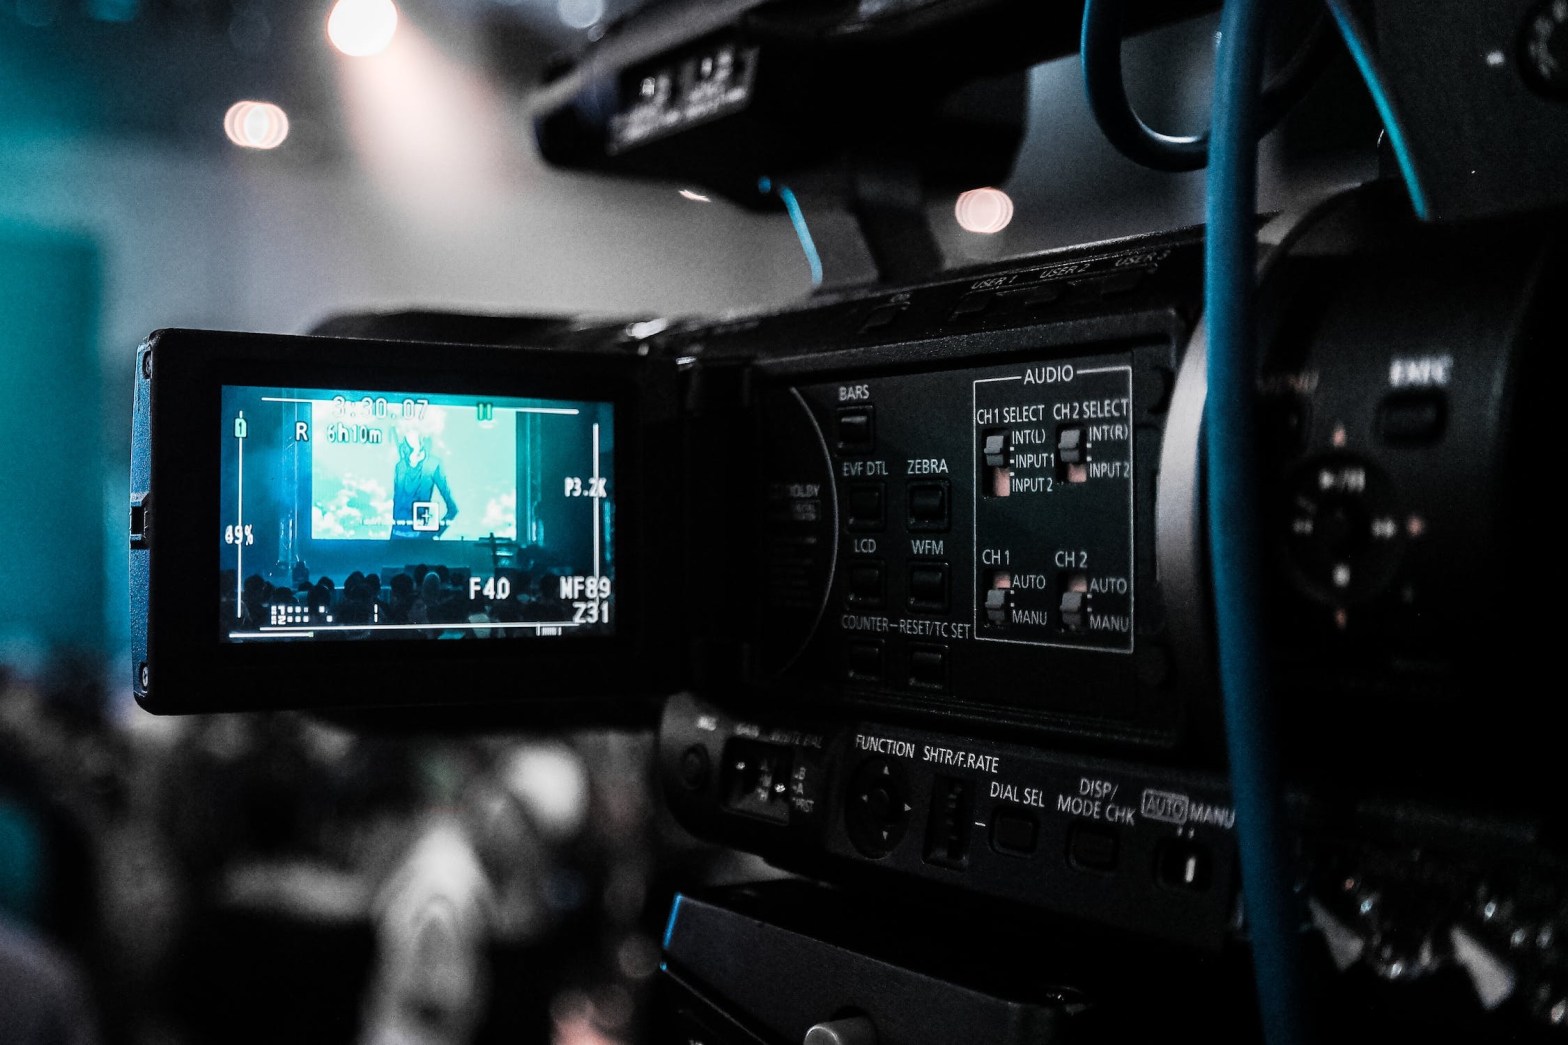
  2. External Monitor: Check your framing in real-time, especially if your camera lacks a front-facing screen.
  3. Backdrops: For consistent indoor shooting, having a backdrop can give a clean and professional look to your videos.

Vlogging is a fantastic medium to share your story, insights, or expertise with the world. Investing in the right gear can elevate the quality of your content, setting you apart in the bustling realm of YouTube. Remember, while gear is essential, your unique voice and perspective are what truly resonate with viewers. Happy vlogging!

360-Degree Cameras: Exploring Panoramic Photography


The rise of 360-degree cameras has redefined the horizons of the photography world. Once restricted to simple landscapes, photographers can now capture the entirety of their surroundings in a single shot. In this post, we’ll navigate the fascinating world of panoramic photography and discover how 360-degree cameras are changing the game.

A New Perspective: What Are 360-Degree Cameras?

Unlike traditional cameras that capture a fixed frame, 360-degree cameras use wide-angle lenses (often two back-to-back fisheye lenses) to record all directions at once. The resulting images or videos can be explored interactively, allowing viewers to pan and rotate the perspective and virtually look around.

Benefits of Using 360-Degree Cameras:

  1. Immersive Experience: They provide a complete view of a scene, offering viewers an immersive, explorative experience unlike any other.
  2. Versatility: Beyond photography, they’re used in a variety of applications, from virtual reality to real estate tours and action sports.
  3. Creative Potential: Experiment with “tiny planet” shots, over-captures, and more unique perspectives that standard cameras can’t achieve.

Factors to Consider When Buying:

  1. Resolution: A higher resolution means clearer panoramic shots. Consider cameras with at least 4K for videos and high megapixels for photos.
  2. Stitching Capability: Some cameras offer automatic in-camera stitching while others require post-processing software.
  3. Durability: If you’re into adventure, look for rugged features, waterproofing, and shock resistance.

Tips for Shooting with 360-Degree Cameras:

  1. Mind the Height: Place your camera at eye level to create a natural perspective.
  2. Stay Centered: For a clean stitch, especially in videos, ensure important subjects are centered between the lenses.
  3. Beware of Close Objects: Items too close to the camera can look distorted. Keep an optimal distance for clearer results.

The Future of Panoramic Photography:

As technology continues to evolve, we can expect more advancements in 360-degree camera capabilities. Integrations with augmented reality (AR), improved low-light performance, and enhanced stabilization features are just on the horizon.

360-degree cameras have unlocked a world where photography is not just about looking ahead but experiencing the full sphere of our surroundings. As we embrace this panoramic revolution, it’s exciting to imagine how much further we can push the boundaries of capturing moments in their entirety. Whether you’re a seasoned photographer or someone eager to dabble, there’s never been a more expansive time to dive into the world of photography.

Mirrorless vs. DSLR: Which is Right for You?


The debate between mirrorless and DSLR cameras has been a hot topic in the photography community for years. Both have their strengths and weaknesses, and the choice ultimately boils down to your specific needs. In this post, we’ll delve deep into the features of both, helping you decide which is the right fit for your photographic journey.

The Basics: What’s the Difference?

  • DSLR (Digital Single-Lens Reflex): These cameras use a mirror mechanism to reflect light from the lens up into an optical viewfinder. They are descendants of the traditional film SLR cameras.
  • Mirrorless: As the name suggests, these cameras don’t have a mirror. Instead, light passes directly from the lens to a digital image sensor, which then displays the image on an electronic viewfinder or the main LCD screen.

Advantages of DSLR:

  1. Optical Viewfinder: DSLRs provide a direct optical path from the lens to your eye, making images appear more natural and clear, especially in bright conditions.
  2. Battery Life: Generally, DSLRs have longer battery life since they can shoot without using the LCD or EVF, which consume a lot of power.
  3. Lens & Accessory Options: DSLRs, having been around longer, have a broader range of lenses and accessories available.
  4. Durability: Many professional-grade DSLRs are built like tanks, making them suitable for harsh environments.

Advantages of Mirrorless:

  1. Size & Weight: Without the mirror box and optical viewfinder, mirrorless cameras can be made smaller and lighter.
  2. Faster Autofocus: With the latest models, autofocus on mirrorless cameras (especially in video mode) is often quicker and more reliable.
  3. Silent Operation: They can shoot silently, which is beneficial for candid photography or in quiet environments.
  4. Real-time Exposure Preview: The EVF or LCD can display how the final image will look in terms of exposure, depth of field, etc.

Which Should You Choose?

  • For Portability: If you want something lightweight for travel or street photography, mirrorless might be the way to go.
  • For Action and Sports: While mirrorless cameras are catching up, DSLRs, especially high-end ones, still have the edge in capturing fast action.
  • For Video: Mirrorless cameras typically have better video features, with superior autofocus and often the ability to shoot 4K or higher resolutions.
  • For Longevity: If you’re out shooting all day, especially without access to charge your batteries, a DSLR might be more beneficial.

The decision between DSLR and mirrorless isn’t a matter of which is objectively better, but which is better for you. Consider your needs, budget, and the kind of photography you aim to do. Whether you choose DSLR or mirrorless, remember that it’s the skill of the photographer that truly makes a picture shine. Happy shooting!

Evolution of Photography: From Film to Digital


Photography, an art form and a science, has continually evolved since its inception, capturing moments and painting history in the process. From the very first image to the high-definition photos we snap today with our smartphones, the journey of photography is as picturesque as the images it produces. Let’s take a trip down memory lane and trace the evolution of this powerful medium.

1. The Dawn: Daguerreotypes (1839)

Louis Daguerre introduced the first publicly available photographic process known as the daguerreotype. These images, rendered on a silvered copper plate, were delicate, singular, and required long exposure times, making portraiture a test of patience.

2. Tintypes and Ambrotypes (1850s)

Soon after, cheaper methods like tintypes (created on thin metal plates) and ambrotypes (on glass) came into the scene, making photography more accessible to the masses.

3. Birth of Film: George Eastman’s Kodak (1888)

The true democratization of photography began with George Eastman’s Kodak camera. Using a roll of film, it simplified the process, famously marketed with the slogan, “You press the button, we do the rest.”

4. Color Photography (1930s)

While early photographs were monochromatic, experiments with color began in the 19th century. By the 1930s, Kodachrome film offered vibrant, long-lasting color images, revolutionizing the world of photography.

5. The Rise of the SLR (Single-Lens Reflex) (1960s)

The SLR cameras, with their interchangeable lenses and through-the-lens viewing, gave photographers unprecedented creative control, setting a new standard in professional photography.

6. Instant Gratification: Polaroid (1970s)

Edwin Land’s Polaroid provided instant photos, creating waves in consumer photography. The joy of seeing an image develop before one’s eyes was nothing short of magical.

7. Digital Revolution (Late 1990s – 2000s)

Digital cameras, initially limited to professionals due to their high cost, started becoming affordable. The ability to see, edit, and delete photos instantly, combined with the infinite storage possibilities, marked the beginning of the end for film.

8. The Smartphone Era (2010s – Present)

Today, everyone’s a photographer. With powerful cameras fitted in smartphones, combined with sophisticated editing apps, photography is now ubiquitous, instant, and shared globally in seconds.

9. The Role of Software and AI (Present)

Modern photography leans heavily on software. From computational photography that combines multiple images for the perfect shot to AI enhancements that optimize settings in real time, the line between pure photography and digital artistry is continually blurring.

Photography’s journey, from capturing reality on metal plates to manipulating it digitally, is a testament to human innovation. As technology advances, the essence of photography — capturing moments, emotions, and stories — remains unchanged. It reminds us that while tools evolve, the heart of photography, the art of seeing and storytelling, is timeless.

Understanding and Mastering Manual Focus: Harnessing Precision in Every Click


While autofocus has become a default feature in modern cameras, delivering speed and convenience, manual focus (MF) remains a powerful tool in the hands of photographers who desire absolute creative control. Understanding how and when to use manual focus can drastically enhance the quality and artistry of your shots. Let’s delve into the world of manual focusing and explore its advantages and techniques.

1. Why Choose Manual Focus?

  • Precision: Autofocus may sometimes latch onto the wrong subject or area. With manual focus, the control is in your hands.
  • Challenging Conditions: In low-light, through obstacles like glass, or when subjects are closely bunched, autofocus can struggle. MF thrives here.
  • Artistic Control: For creative effects like selective focus or focus pulling in videos, manual focus is invaluable.

2. Getting Started with Manual Focus

  • Switching Modes: Almost all digital cameras have a switch on the lens or body marked AF (autofocus) and MF (manual focus). Simply switch to MF.
  • Focusing Ring: Located on the lens, this ring is rotated to adjust focus manually. Turn it slowly to see changes in sharpness.

3. Techniques to Master Manual Focus

  • Focus Peaking: Many modern cameras highlight in-focus edges in a specific color. This visual aid is immensely helpful.
  • Magnification: Use the zoom/magnify function on your camera to get a closer view of your subject, ensuring sharper focus.
  • Hyperlocal Distance: Especially useful for landscapes, this technique involves setting focus at the optimal distance to get the maximum area in sharp focus.
  • Pre-focusing: For predictable motion (like sports or street photography), pre-set your focus on a spot where the action will happen.

4. Scenarios to Use Manual Focus

  • Macro Photography: When dealing with subjects up close, like insects or flowers, MF offers precision.
  • Portraits: To ensure the eyes are tack sharp, use MF.
  • Astrophotography: Autofocus often fails in capturing stars. Manual focus ensures you capture the beauty of the night sky.
  • Through Obstructions: Shooting through windows, fences, or foliage? MF lets you decide what’s sharp.

5. Tips for Better Manual Focusing

  • Steady Hands: Use a tripod or stabilize your hands to minimize shake.
  • Practice: The more you practice, the better you’ll get at judging distances and sharpness.
  • Use Wide Apertures for Shallow Depth of Field: This will make it easier to see what’s in focus and what’s not.
  • Trust Your Eyes, But Use Tools: While your eyes are the best judge, don’t hesitate to use focus peaking or magnification.

Embracing manual focus can be a game-changer, giving you the power to produce images that truly resonate with your vision. It’s about patience, practice, and understanding the nuances of your camera and subjects. So the next time you’re out with your camera, switch to manual focus, and revel in the unparalleled creative freedom and precision it offers. Happy shooting!

A Closer Look at Action Cameras: Capturing the Thrill with Clarity and Style


Action cameras have become a mainstay for adventure enthusiasts, thrill-seekers, and sports lovers. Compact, rugged, and versatile, these cameras are designed to capture the intensity and excitement of your exploits. In this review, we will compare some of the top action cameras of 2023, focusing on their durability, features, and how they cater to different activities.

1. GoPro HERO10 Black

  • Ruggedness: Waterproof to 33 feet, shock-resistant, and encased in a sturdy body.
  • Features: 5.3K video at 60fps, HyperSmooth stabilization, TimeWarp 3.0, and 23MP photos.
  • Best For: Extreme sports and underwater shooting.
  • Price: Premium

2. DJI Osmo Action 2

  • Ruggedness: Waterproof without a housing, anti-shake technology.
  • Features: RockSteady stabilization, 4K HDR video, dual screens for vlogging.
  • Best For: Vloggers, bikers, and casual adventurers.
  • Price: Mid-range

3. Sony RX0 II

  • Ruggedness: Crushproof, shockproof, and waterproof.
  • Features: ZEISS Tessar lens, up to 1,000fps super slow motion, 4K recording.
  • Best For: Professionals seeking high-quality imagery and video.
  • Price: Premium

4. Insta360 ONE R

  • Ruggedness: Modular design, waterproof to 16 feet.
  • Features: Interchangeable lenses, 360-degree capture, AI editing tools.
  • Best For: Creative filmmakers and travel enthusiasts.
  • Price: Mid-range

5. Garmin VIRB Ultra 30

  • Ruggedness: Durable build, waterproof with included case.
  • Features: 4K at 30fps, voice control, built-in GPS, and G-Metrix data overlays.
  • Best For: Outdoor sports, tracking performance data.
  • Price: Mid-range

Choosing the Right Action Camera: Factors to Consider

  • Resolution and Frame Rate: Higher resolution and frame rate offer better quality but may require more storage.
  • Stabilization: Essential for smooth footage, especially during intense activities.
  • Build Quality: Look for shock and waterproofing if you’ll be exposing the camera to harsh conditions.
  • Accessories and Mounts: These expand the camera’s usability and adaptability.
  • Battery Life: Consider how long you’ll be shooting and if you can charge or swap batteries easily.
  • Price and Brand: Balance your budget with the features you need and the reputation of the brand.

Action cameras are all about capturing life’s most exciting moments, whether you’re surfing, mountain biking, or simply exploring new horizons. From the professional quality of the Sony RX0 II to the innovative 360-degree capture of the Insta360 ONE R, there’s a camera to suit every need and adventure.

Investing in an action camera can enhance your outdoor experiences, turning fleeting moments into lasting memories. By understanding your specific requirements and carefully considering the features and ruggedness of different models, you can find the perfect camera to accompany you on your thrilling journey. Let the adventure begin!

The Art of Drone Videography: Soaring Above to Capture Cinematic Magic


Drones have revolutionized the way we capture videos, adding dynamism and a bird’s-eye perspective that was previously reserved for high-budget productions. The art of drone videography is both exciting and challenging, requiring a blend of technical know-how and creative flair. Here are some essential tips and techniques to help you master the craft.

1. Know Your Drone

Understanding your drone’s capabilities is key:

  • Camera Settings: Familiarize yourself with resolution options, frame rates, and exposure controls.
  • Stabilization: Most modern drones come with gimbal stabilization. Ensure it’s properly calibrated for smooth footage.
  • Flight Modes: Explore automated flight modes like “follow me” or “orbit” to create complex shots with ease.

2. Planning and Storyboarding

Thoughtful planning leads to captivating videos:

  • Storyboarding: Outline your shots and sequences in advance.
  • Location Scouting: Select locations that are visually engaging and legally permissible for drone flying.
  • Weather and Lighting: Monitor weather conditions and plan to shoot during golden hours for the best natural light.

3. Composition and Creativity

  • Rule of Thirds: Apply this classic principle to frame your shots aesthetically.
  • Use Foreground Elements: Incorporate objects in the foreground to add depth and motion parallax.
  • Experiment with Angles: Vary your drone’s altitude and angle to find unique perspectives.

4. Recommended Settings

Here are some general settings to start with:

  • Resolution: 4K allows flexibility in post-production but requires more storage.
  • Frame Rate: 24 or 30 fps for a cinematic look; 60 fps if you plan to use slow motion.
  • Shutter Speed: Aim for double your frame rate for natural motion blur (use ND filters if necessary).

5. Accessories to Consider

  • Neutral Density (ND) Filters: Control exposure and achieve proper motion blur.
  • Extra Batteries: More flight time means more opportunities to get the perfect shot.
  • Landing Pads: Protect your drone during takeoff and landing, especially in uneven terrains.

6. Safety and Legal Compliance

  • Understand Local Regulations: Always comply with local laws regarding drone flying.
  • Be Mindful of Privacy: Respect private property and avoid filming people without consent.
  • Check Equipment: Conduct pre-flight checks to ensure everything is in working order.

7. Post-Production Magic

  • Editing Software: Invest in quality software to cut, color grade, and add effects.
  • Music and Sound: Pair your visuals with fitting music or sound effects to enhance the mood.
  • Review and Revise: Don’t be afraid to revisit and tweak your work for the best results.

Drone videography offers endless possibilities to elevate your storytelling and create mesmerizing visuals. By investing time in planning, understanding your equipment, applying artistic principles, and adhering to safety and legal guidelines, you can master the art of drone videography.

Remember, practice and patience are vital, and every flight is an opportunity to learn and grow. Keep pushing your creative boundaries, and let your imagination take flight. The sky’s not a limit; it’s a canvas. Happy filming!

How to Choose the Perfect Tripod: Finding Stability in Your Photography Journey


A tripod is one of the most valuable accessories a photographer can own, providing stability for capturing sharp, blur-free images and videos. Whether you’re shooting long exposures, landscapes, or studio portraits, the right tripod can make a world of difference. But with so many options available, how do you choose the perfect one? This guide will help you navigate the factors to consider when selecting the right tripod for your needs.

1. Weight Capacity

  • Determine Your Gear’s Weight: Consider the weight of your camera and the heaviest lens you’ll be using. Your tripod should support at least 1.5 times this combined weight.
  • Light vs. Heavy Tripods: Lighter tripods are great for travel, but heavy-duty models provide more stability, especially for larger camera setups.

2. Height and Stability

  • Maximum and Minimum Height: Consider a tripod that extends to your eye level and has a minimum height that suits your preferred shooting style (e.g., macro photography).
  • Leg Sections: Tripods with more leg sections offer greater height adjustment but may be less stable.

3. Material and Construction

  • Aluminum vs. Carbon Fiber: Aluminum tripods are usually more affordable and sturdy, while carbon fiber models are lighter and absorb vibrations better.
  • Build Quality: Check for a well-constructed tripod with sturdy joints, locks, and no wobbling.

4. Head Type

  • Ball Heads: Flexible and easy to adjust, great for various shooting situations.
  • Pan-and-Tilt Heads: Offer precise control, ideal for landscapes and architectural shots.
  • Fluid Heads: Designed for smooth video panning and tilting.

5. Portability and Travel Considerations

  • Folded Length: If you travel frequently, look for a tripod that folds compactly.
  • Weight: Lighter tripods are easier to carry but may sacrifice some stability.

6. Features and Accessories

  • Quick Release Plates: These allow for easy mounting and unmounting of the camera.
  • Bubble Level: Helps ensure the tripod is level, particularly useful for landscape photography.
  • Adjustable Feet and Spikes: Provide stability on various terrains.

7. Price and Brand Considerations

  • Budget: Set a budget that aligns with your needs, but remember, a quality tripod is a long-term investment.
  • Brand Reputation: Consider reputable brands known for quality and durability.

Choosing the perfect tripod involves a careful assessment of your specific needs, shooting style, and budget. From the type of material to the head design and additional features, each aspect of a tripod can impact its functionality and suitability for your photography.

Take the time to try out different options in a store if possible, and consult reviews from other photographers. The right tripod will not only enhance your photographic skills but will also serve as a reliable companion in your creative endeavors. Remember, it’s about finding the right balance between stability, portability, functionality, and cost. Happy tripod hunting!

Latest Trends in Camera Technology: The Future of Photography Unveiled


Photography has undergone a radical transformation in the digital age, with technological innovations pushing the boundaries of what’s possible with a camera. From smartphones to professional DSLRs, the recent advancements in camera technology are shaping a new era in imaging. This article provides an overview of the latest trends, from AI-driven features to the marvels of computational photography.

1. Artificial Intelligence (AI) in Cameras

  • Autofocus Enhancements: AI algorithms are being used to identify subjects more accurately and predict motion, resulting in incredibly sharp focus.
  • Scene Recognition: AI can detect various scenes and subjects, automatically adjusting settings for optimal image capture.
  • Noise Reduction: Advanced AI techniques are improving low-light photography by reducing noise without sacrificing detail.

2. Computational Photography

  • HDR and Fusion Techniques: By merging multiple exposures, computational photography can achieve High Dynamic Range (HDR) images that reveal detail in both shadows and highlights.
  • Bokeh and Depth Effects: Smartphones and some cameras now simulate shallow depth of field, allowing for beautiful background blur without specialized lenses.
  • Super Resolution: Algorithms can upscale images without significant loss in quality, enabling impressive enlargements.

3. Mirrorless Revolution

  • Compact Design: Mirrorless cameras offer DSLR-like quality in a smaller, lighter package.
  • Electronic Viewfinders: These provide real-time previews of how changes to settings will affect the image.
  • Increased Speed: Faster autofocus and higher frame rates are becoming standard in mirrorless models.

4. Sensor Innovations

  • Stacked Sensors: These allow for faster readout speeds and improved performance in areas like burst shooting.
  • Expanded ISO Ranges: Cameras are now offering incredibly high ISO values, enabling better low-light shooting.

5. Integration with Mobile Technology

  • Instant Sharing: Cameras with built-in Wi-Fi or Bluetooth allow for seamless sharing to social media.
  • Remote Control: Many cameras can now be controlled through smartphones, providing remote shutter control, focus adjustments, and more.

6. 8K Video and Beyond

  • High-Resolution Video: 8K video recording is becoming more prevalent, offering breathtaking detail and post-production flexibility.
  • Advanced Stabilization: In-body stabilization systems are improving, allowing for smoother handheld video shooting.

7. Environmental and Ethical Considerations

  • Sustainability: Manufacturers are increasingly focusing on reducing environmental impact through responsible sourcing and energy-efficient production.
  • Accessibility: More budget-friendly yet advanced options are making high-quality photography accessible to a wider audience.

The world of camera technology is constantly evolving, and the latest trends reflect a movement towards intelligent, adaptive, and ethical imaging solutions. From the AI-powered smart functions to the remarkable capabilities of computational photography, these advancements are reshaping how we capture and share our visual experiences.

Whether you’re a professional photographer or a casual enthusiast, understanding these trends can guide your decisions in choosing the right gear or experimenting with new techniques. One thing is clear: the future of photography is bright, and the possibilities are virtually endless.

Exploring the World of Aerial Photography: Taking to the Skies with Drones


Aerial photography has opened up new vistas and perspectives, transforming the way we capture landscapes, cityscapes, and more. With the accessibility of drones, this exciting form of photography is no longer restricted to professionals. This guide will walk you through getting started with aerial photography using drones, highlighting essential tips, techniques, and legal considerations.

1. Choosing the Right Drone

Selecting a suitable drone is the first step towards successful aerial photography. Consider factors like:

  • Camera Quality: Look for drones with good resolution, image stabilization, and the ability to shoot in RAW format.
  • Flight Time: Longer flight times allow more time to capture the perfect shot.
  • Ease of Use: Some drones come with beginner-friendly features and automated flight modes.
  • Budget: Determine your budget and find a drone that offers the best value within that range.

2. Understanding Legal Considerations

Before taking flight, it’s vital to understand the legal aspects of drone operation:

  • License and Registration: Check your country’s regulations concerning drone licenses, certifications, and registration.
  • No-Fly Zones: Be aware of restricted areas such as airports, military bases, or densely populated regions.
  • Privacy Concerns: Respect people’s privacy and avoid flying over private property without permission.

3. Developing Your Skills

Starting with a drone can be daunting, so consider these tips:

  • Practice: Spend time practicing in open, obstacle-free areas to understand your drone’s controls.
  • Use Automated Modes: Many drones offer modes like “follow me” or “orbit” that make capturing dynamic shots easier.
  • Experiment with Angles: Aerial photography offers unique perspectives, so don’t be afraid to experiment with different angles and heights.

4. Composition and Creativity

  • Plan Ahead: Research and plan your shots in advance, considering factors like weather, lighting, and time of day.
  • Emphasize Patterns and Shapes: Aerial views reveal patterns and geometric shapes that aren’t visible from the ground. Look for these in landscapes, architecture, or even crowds.
  • Tell a Story: Think about the story or emotion you want to convey through your photographs.

5. Post-Processing

Editing can enhance your aerial photos:

  • Color Correction: Adjust colors to make the images pop and reflect the scene’s true beauty.
  • Cropping and Alignment: Ensure horizons are straight and crop if needed to improve composition.
  • Use Filters Sparingly: While filters can add flair, avoid overusing them, as it may diminish the natural allure of aerial shots.

Aerial photography using drones is a thrilling and rewarding pursuit, offering opportunities to see the world from entirely new angles. By carefully selecting equipment, understanding legalities, honing skills, and embracing creativity, you can capture breathtaking images that stand out.

Remember, patience and practice are key, as mastery of aerial photography won’t happen overnight. Always fly responsibly, and keep exploring, learning, and growing in this fascinating photographic field. The sky’s not the limit; it’s just the beginning!

Design a site like this with WordPress.com
Get started